Off-Camera Lighting Tutorial: One Light Setup
Does off-camera lighting seem like a difficult concept to grasp? Are you not sure what equipment you need or how to set it up? I’m frequently asked by photographers about my setup, which is what I use for all my preschool photography portraits, so I created this off-camera lighting tutorial. The setup is really simple and I can change the way everything looks by moving the light placement, adding a reflector for fill, adjusting the backdrop or just by playing around in posting processing.
- What is Off-Camera Lighting?
If you are not a photographer, you might be wondering what I’m talking about. Do you notice that when the flash goes off on your camera or cellphone that the lighting can look a little harsh, or maybe too bright? That is because the flash is directed right at the person. If you move the flash away from the camera the light can look different, and you can start to control it in different ways. If you add a modifier around the light source then you can recreate different effects, such as softening it, and/or controlling the direction of the light. Another creative setup is to create different colors by adding gels to your light. When I know there won’t be enough light in an environment or if I’m looking for a more consistent look I will use off-camera lighting. For school photography in particular, a consistent lighten is important to aid in post-production time.
2. The Setup
Let me help demystify the off-camera lighting process for you. As a photographer, you might guess, that I’m a visual person. Once I see how something is accomplished I can process it and make modification as needed. In the video below, I list out all the equipment that I use, plus how I set it up and the results. At the moment this is the setup I use for 90% of my preschool portraits and headshot, or at least until I practice how to add in a second light. See we are all continuously learning. You’ll see in the video that I use a large modifier. This is because I am trying to mimic window light. For my preschool photographs, I do not want dramatic imagery. For some of the other portraits, I changed the setup of my light and the black collapsable backdrop to create a more creative portraits.
3. My Equipment List
There are so many different options for lighting. This is what I landed on but don’t let it limit you. With a little research you’ll find the right fit. Before I spent the money on lights, I played around with flashes I had to create the images I wanted.
- Einstein Light
- Transmitter
- Tranceiver
- PLM system (modifier)
- Seemless Backdrop Paper – however, you use whatever is around. In the past, I’ve used felt, and created my own creative backdrops. In the examples with the white backdrop, since I’m not lighting the backdrop itself it looks a bit grey, which is what I want. If you want your backdrop to white you’ll need to add a second light.
- Metal Clips
- Gaffer Tap
- Collapsible Backdrop
4. Examples of Off-Camera Lighting
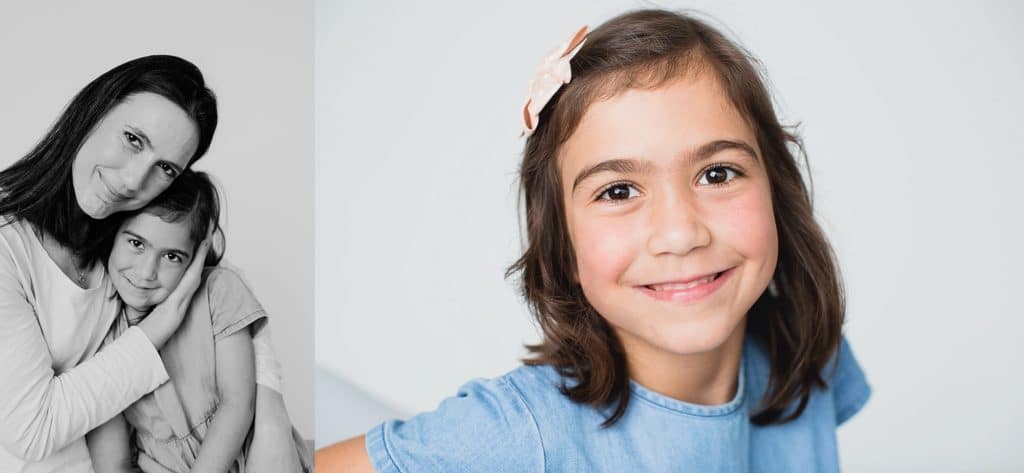
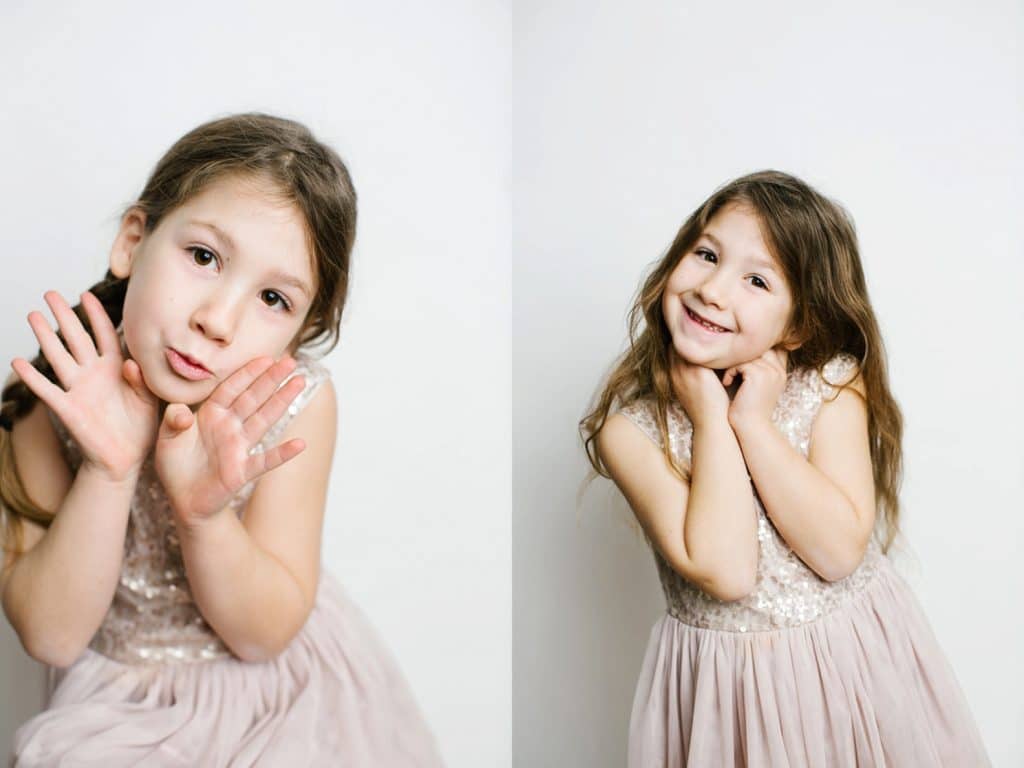
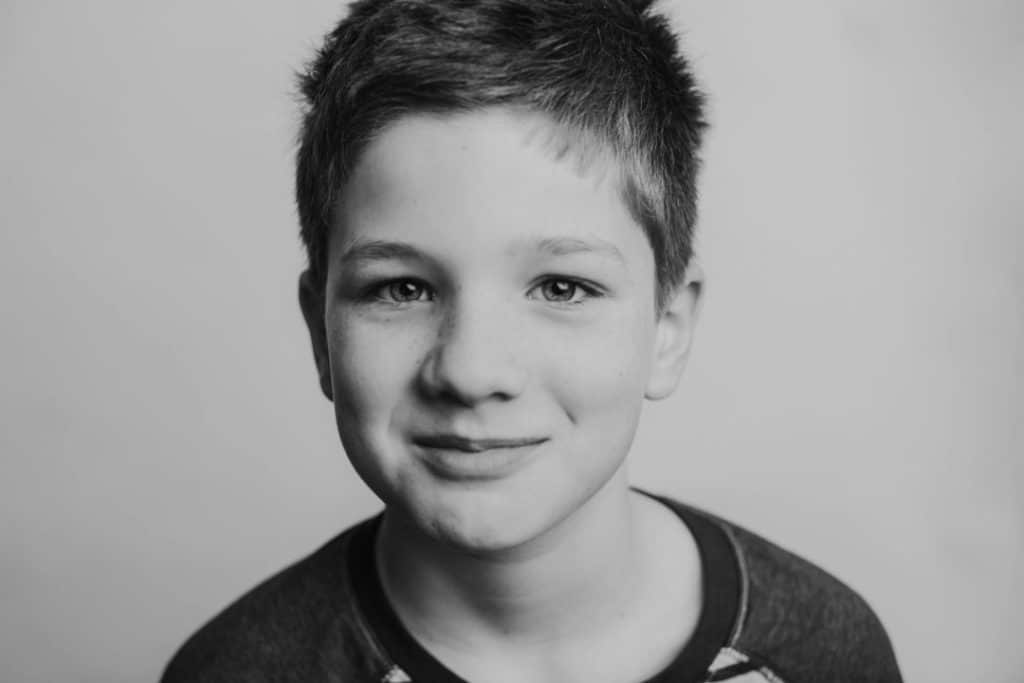
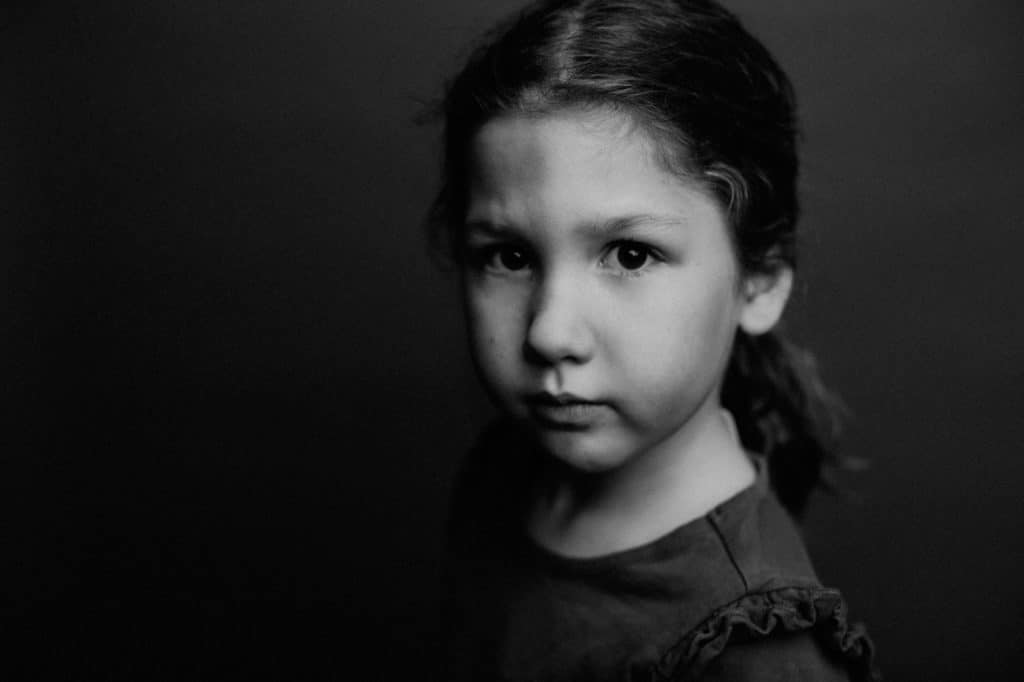
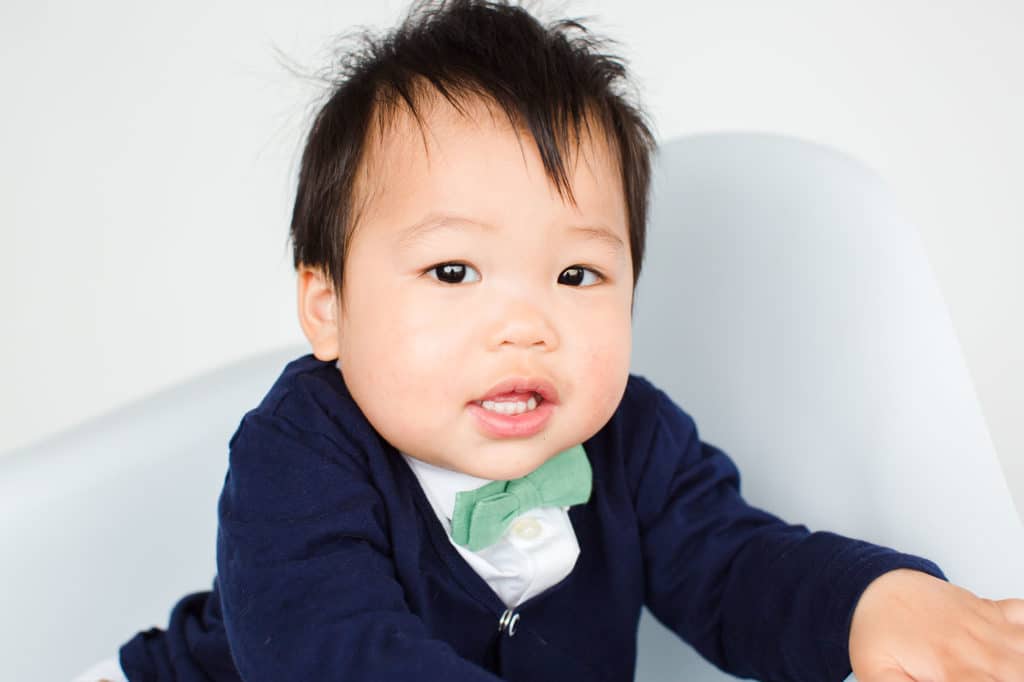
Here are a few examples from the slide show using the exact same setup. In these setups, I’m using either a gray or white backdrop. The backdrop is not lit with off-camera lighting so it will not be 100% white. If you pay attention to the shadows and the catchlights in the eyes, you get a better idea of where my light source was located.


5. Next Steps
Don’t worry if you don’t have a off-camera lights. I’ll be back with a video to share how I take natural light portraits of my kids and at in-home sessions.
Comments