


How a Few Edits Can Transform a Photograph: Looking at Before & After Photographs
Do you ever wonder what an image looks like straight-out-of-camera (SOOC)? Or, why it takes awhile for you to receive your gallery? What tweaks do photographers take to transforms an image through editing. A lot of photographers take images in RAW which saves much of the image data so we can manipulate it later.
For the last few weeks, I have been participating in an editing loop on IG. If you aren’t familiar with the idea, it is a simple concept. Each photographer posts a before and after of a photo.
For me, deciding on an edit can happen before or after I take the image. Sometimes I’ll have an idea or a vision of what I want the photograph to look like and manipulate it extensively; however, for a lot of my work – particularly family and newborn photographs – I try to be light in my editing so it looks more natural. Since I am shooting in RAW something has to be done to the image especially with exposure, contrast and sharpening. For some of my personal work, I feel like have a bit more freedom is experiment with color and I love adding textures.
Below are the before and after images that I posted.
- Basic Adjustments
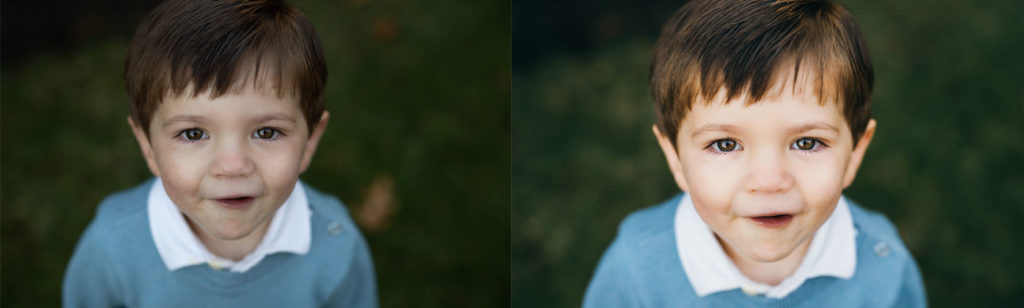
For many of images, I begin with basic adjustments, particularly around exposure and white balance. Even if converting to black and white I’ll try to get the color in the image correct and I’ll adjust the exposure as needed.
2. Preset or Hand-Edit
Next, I’ll use a preset (for many of my images). I’ve been using the same color and BW preset for years and I’ll make changes as needed. It doesn’t work on everything so in those cases I’ll edit the images by hand. The preset helps speed up my work flow and give my work a consistent look.
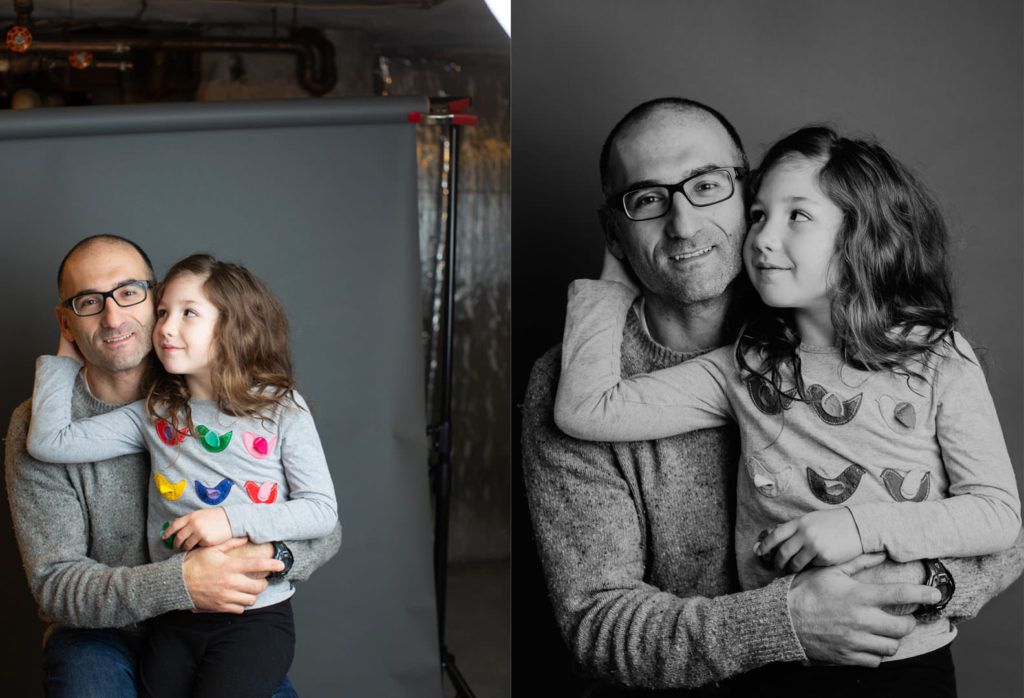
3. Adjust Skin Tones
If there are people in a photograph, I’ll double check the skin tones. Sometimes the preset will can the person’s appearance. I try my best to match what a person looks like in person and also make sure they are too blue, yellow or orange.
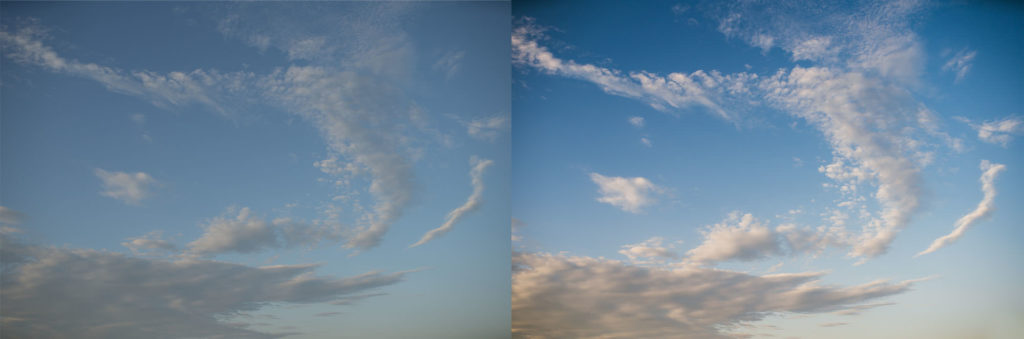
4. Check the Details
Whether it is a dress or the sky, additional adjustments or brushed are needed. The brushed can be used to save the highlights or in the case below really bring out the sky.

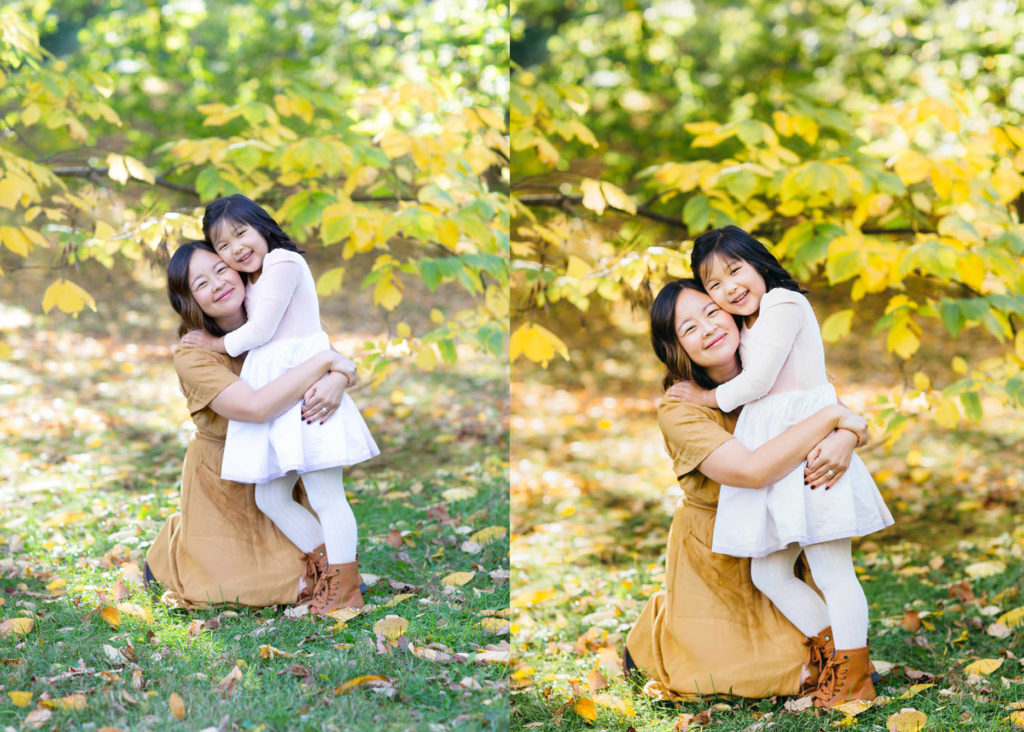
5. Crop When Needed
I usually – but not always – crop at the end of editing. Cropping can help give the image a different look and feel. In the moment, I might not be quick enough to compose and shot the action. Or, after looking at the photo, I notice the view can be altered in a more positive way.
There are so many ways to edit but one of my favorite classes to learn the basics of lightroom and how to edit by hand are by Roxanne Bryant.
