


Guide to Photographing Your Baby’s First Year
Boston baby photographer, Beth Ann, share a few tips.
Last year for a workshop I put together a guide to photographing your baby’s first year. It offers some simple tips for photographing your child/children at different stages. To make the resource more readily accessible, I organized it into a mobile app that you can download here. All you have to do is open the link on your phone and save it to your phone or tablet. All the information below is put together into an easy reference guide.

Before getting started think about what makes your family unique and what type of photos you want to look back on.
For me, when I look back at my own photos, what I love seeing are how the kids changed, their personalities forming, the changing interests, and even how our home looks different.
Below I broke up the first year into three different stages – newborn, pre-sitting and moving. Before even picking up the camera, it is important to review why you are taking photos. Below I’ve listed a few questions that will help you think about what you want to remember during each phase and what you hope to capture during this special time.
- Where do you spend most of your time? Inside? Outside?
- What are your go-to outfits?
- Are there any special items given to the baby?
- Which toy is the baby using?
- What type of personality is emerging? How can you capture it?
Phase 1: Newborn
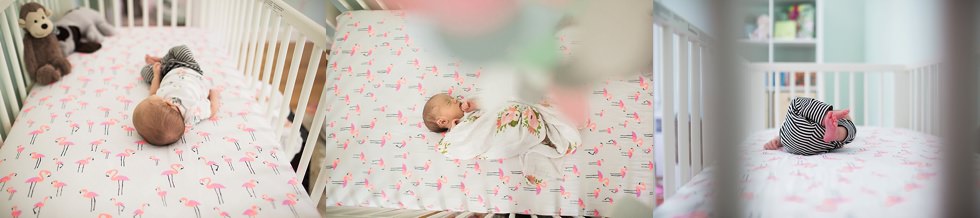
Okay, so you are sleep deprived but still want to capture the newness of your baby. Instead of trying to replicate photos with props, keep it simple. Wrap the newborn in a swaddle, special blanket or a cute outfit. So you don’t have to bend over, place the baby on the bed and then start taking photos.
Keep it simple
The key here is getting good window light. Once you have the newborn baby in position, try different angles until you find the viewpoints you like the best. By angles I mean shooting at the baby’s eye level, shooting above, and then moving yourself around the baby. In this series, there are two large windows on the left and that is all.

For a different look play around with creating negative space and then moving in closer.

Try the same thing with the crib or bassinet. Sometimes, natural light won’t be bright enough so watch the light in the nursery and try on a bright day. Or, you can try moving the crib, bassinet, or co-sleeper closer to a window. In the series below, I took a photo at one end of the crib, above the crib and then from the other end to get a variety of perspectives.
Phase 2: Pre-sitting
I love this phase and I think this is the easiest to photograph – you are out of the newborn haze, babies are smiling and giving you eye contact and they do not move… yet. The key is figuring out how to keep the photos interesting since the baby can only lie down.
Capturing the face & personality
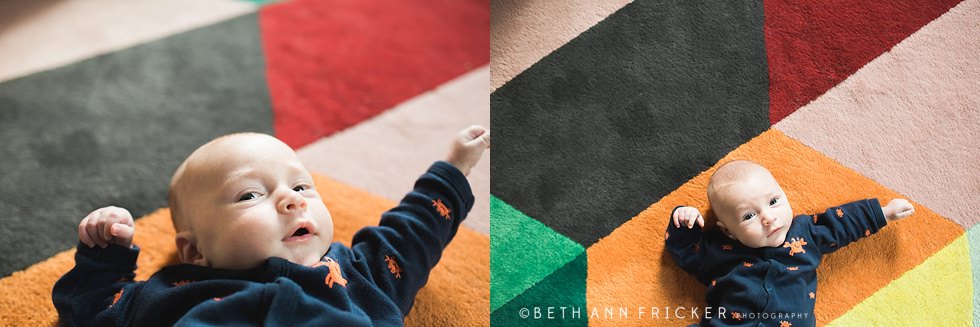
Again, get the light right. Find a window and then adjust. Here the window is on the right. You can see where the light is coming from based on where the catchlight is located and how the shadow falls. I used a white blanket to keep everything simple and then just snapped away. To capture the happy playfulness of the baby, these photos were taken just after a nap.

For practice, place your baby down near one window and take a series of shots. My favorite and easiest setup is for the baby to be just next to a window. Below is a pullback of the room and the final image. In my opinion, I think it is fun and interesting to use the colors and textures you already own. It keeps it unique and personal. However, if you are looking for something more classic, throw down a white blanket (like in the photo above).

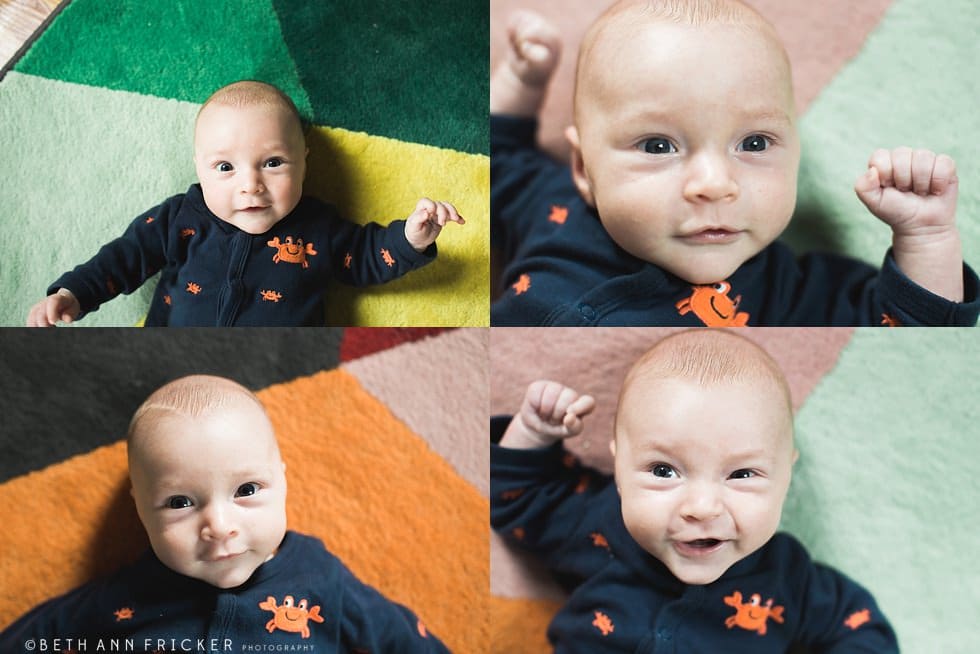
When taking this shot, think about where you are shooting. It is common to look up at the face but then you end up with a shot looking up the nose (see below). To adjust, I just stand over the baby’s head.
To get comfortable with light, this is a great age to figure out how the light hits your baby’s face. In the series below, I moved the baby around the window. If you look in the eyes for the white catchlight, it will help you figure out where the window was located. Also, the shadows on the face will vary depending on the light source and if you have sheers or anything else softening the light coming in through the windows.
Bouncers, play gyms, toys, oh my!
At this age, to get a variety of photos, use the baby’s toys and crib. I love looking back on these photos remembering what captured my children’s attention at this age. Create visual interest or frame the shot by including part of the toy in the photo.The top photo is the final image while the bottom is the pullback image so you can see the light source.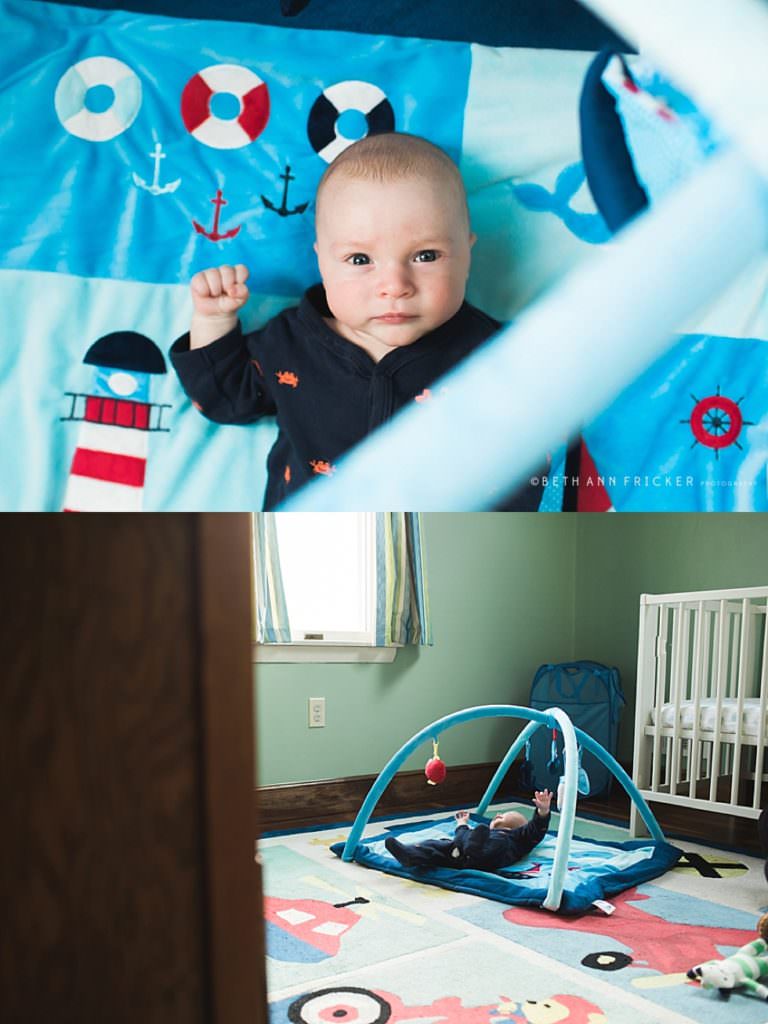
Tummy time
Since many babies don’t enjoy tummy time it is important to get everything setup before putting your baby on his or her tummy. For the photo below, since I’m more interested in getting a clear view of his face I had the baby face the window for nice even light. I put the baby on the bed so it would be easier to get a view of the baby’s face. (Do not put the baby on the edge of the bed and work with a spotter.)
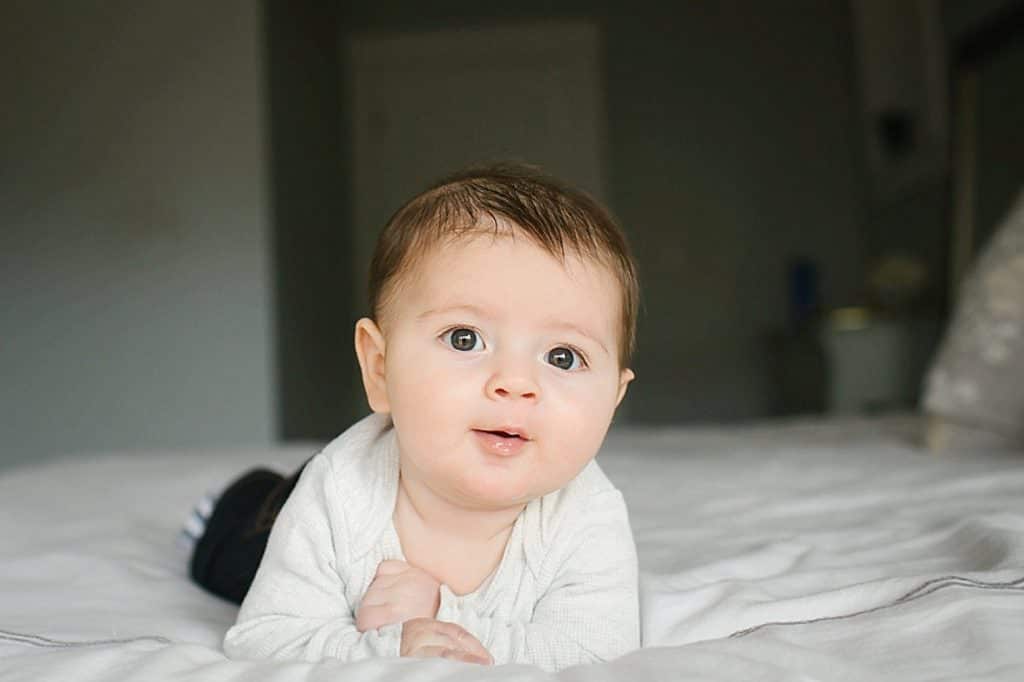
If the baby can’t get his or her head up you can always use a bobby or firm pillow for a little more lift.
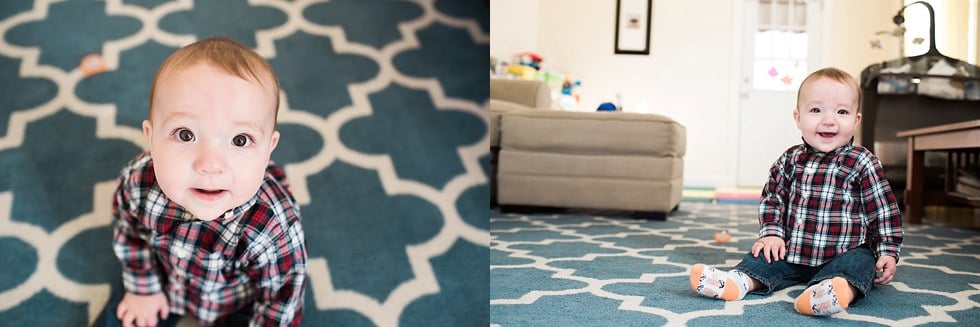
Phase 3: Sitting, Crawling & Walking
Once your baby starts moving, getting a photo can be a two person job. The key here is know your light and your camera. Babies are fast so it is important if you are using a DSLR to increase your shutter speed.
Here is a pullback of the room we were using. My primary source of light was the large window on the right.
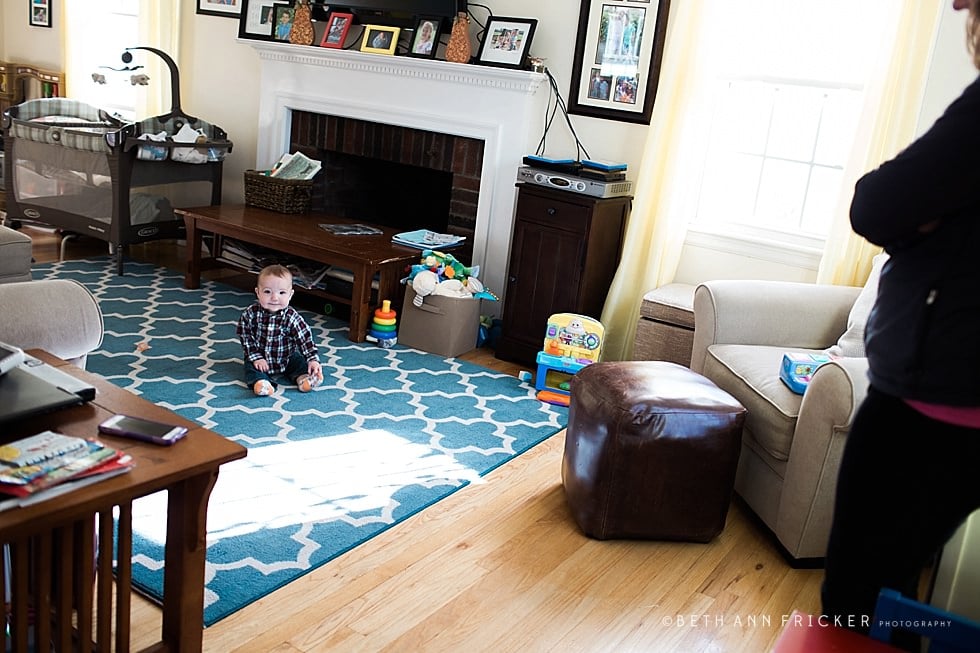
Here you can see how the light changes slightly based on where he is sitting.
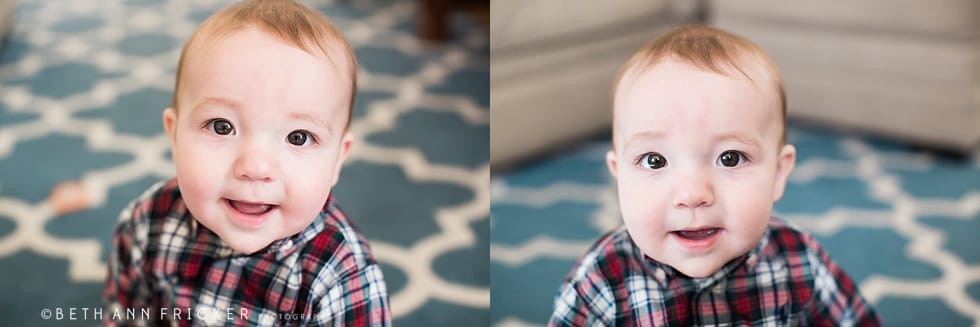
| In this photo the window is to the baby’s right so you get a bit more shadow on the left side for definition. It is subtle.. Also, I am slightly above eye level to minimize all of the distractions in the background. | In this photo the baby is directly facing the window for a more even light. I’m at the baby’s eye level which means I’m also capturing the lines of the couch in the background. |
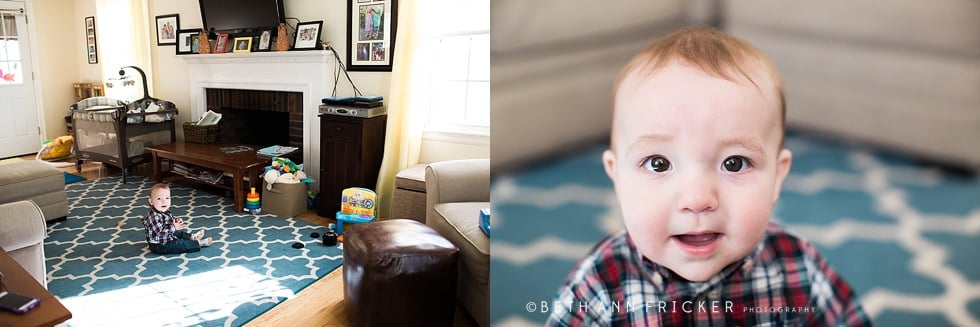
The photographs below are demonstrating a similar concept of how light can change a photograph. The first photo on the left is a pullback of the room. The top photo is the light hitting the baby from the side and in the bottom photo I turned the toy so the baby was looking at the window.

Here is an example of the mom and myself trying to get a photo of the baby crawling. The larger photo is a pullback of the room. When the child is moving quickly, I find it is easier to use flat lighting to make sure I get at least one photograph, and then try creative lighting later. In the top photo the baby is getting light from a side window and another one directly in front of him. In the bottom photo, most of the light is coming from behind the baby making the background of the photo very bright and blown out.
To take these photos, I adjusted my shutter speed so it was higher to capture the motion. The mom had to set the baby down while I took the photographs. It took us multiple tries to get any useable photographs, so don’t get discouraged.
Change your view
The way I had the baby setup in the photo below created a difficult lighting situation. As I mentioned above, most of the light was coming from behind the baby and the background became very bright. For a different perspective, I stood over the baby for a more interesting view and better light. The baby was also curious about the change in my position and temporarily stopped moving. By looking closely at the right eye you can see where the window was located.
Don’t forget the nursery
Nurseries are a wonderful spot since babies spend a lot of time in their rooms. So, pull back those blackout shades and get photographing.
Here is a cell phone pullback of the room I was working in. There was only one window in the room.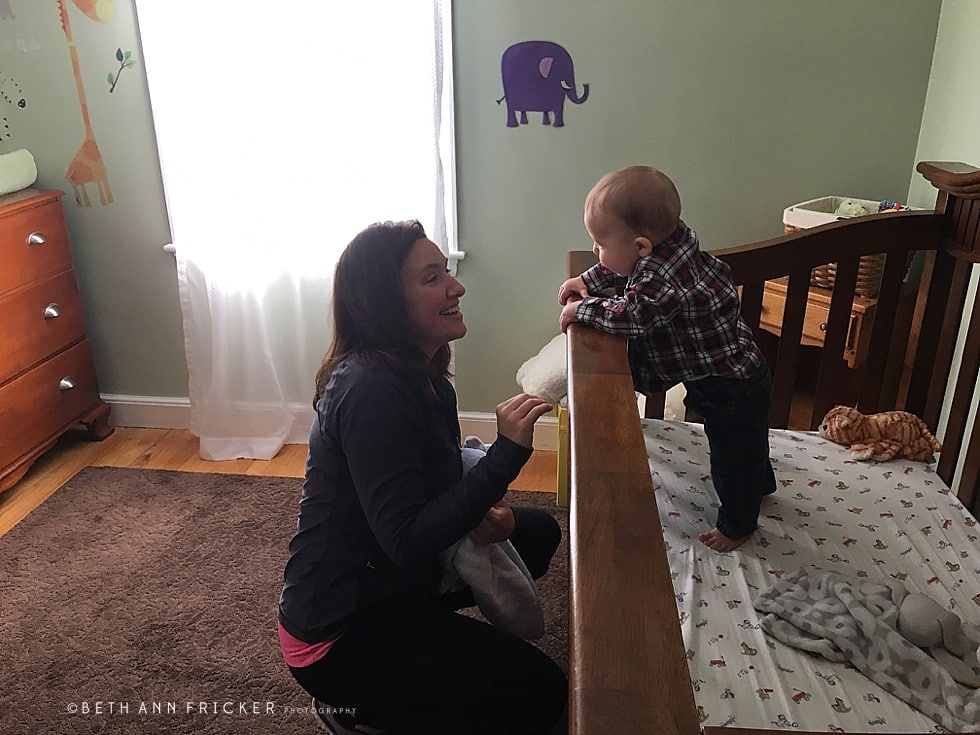
What I did next was get different looks of the baby inside the crib. Some kids love their crib. Some hate it. But still, I feel like it is one of those photos we should take and can be an easy way of charting growth. All I did below was vary my perspective.

| Here I stood on my tippy toes and looked down. The light is coming from the side. | I am slightly above the baby while he is standing. The light is still coming in from the side. | Here the baby is in the same spot as the middle photo but I moved myself to the front of the room. The light is coming from behind the baby. |
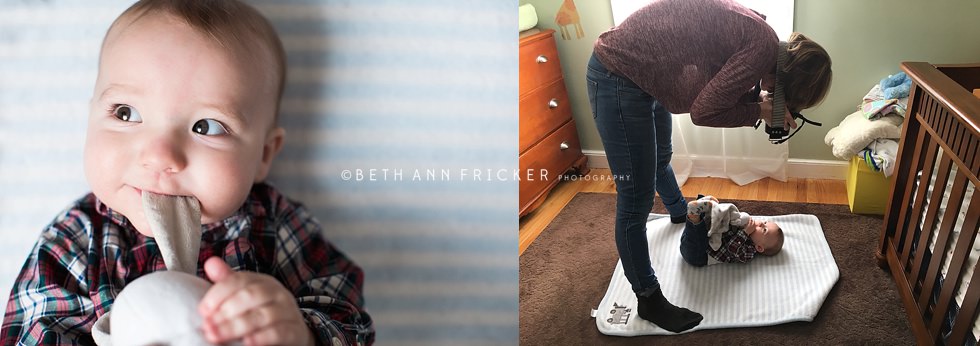
Baby toys and loveys
If the baby has a special toy or lovely, I think it is important to capture it. In this photo, I used the same window in the nursery. I included a photo of myself taking the photo so you can see how far I’m leaning over the baby so that I don’t shoot up the nose.
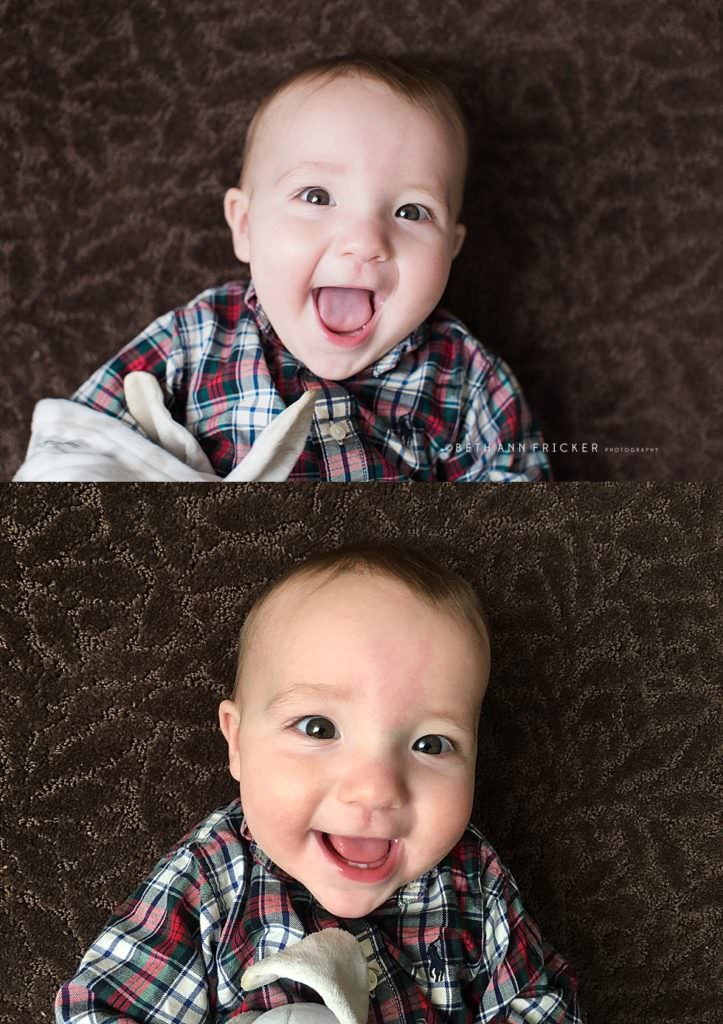
Part Two: But I Only Have a Cell Phone
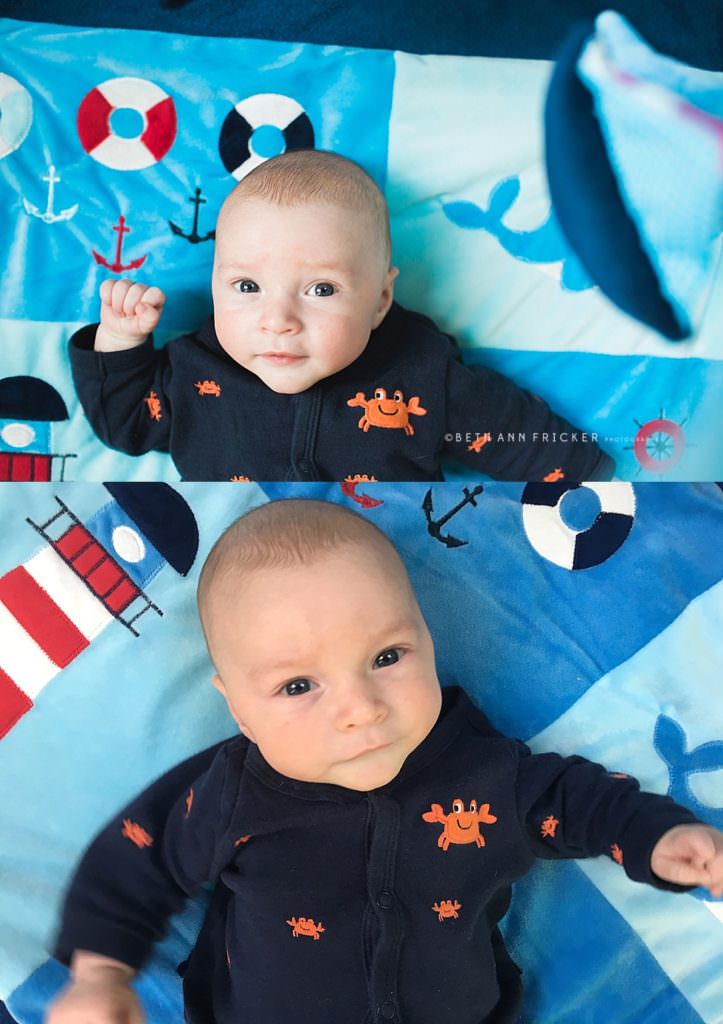
Don’t worry if you are photographing your baby’s first year but only have a cell phone. There are some easy ways to still get great photos of your child/ren. Here are some examples of DSLR photographs (top) compared to cell phone photographs (bottom). Knowing your light will help improve your photos. While you are still figuring your phone camera out, try to keep the light behind you for more even light. The auto settings on camera phones seem to have a priority of keeping a very low ISO therefore the photos you take with it inside might be at a very low shutter speed (so you will get a lot of blur if anything moves) and wide open apertures (so it is harder to get focus). If you look at the hand in the lower left it is almost completely blurred.
With cell phone images, it is important to understand and embrace the limitations of the technology. However, there are a few techniques to improve cell phone images.
- Increase exposure (brighten photos): Tap on the screen. A sun will show up and you can drag the bar to increase or decrease the exposure.
- Burst mode: To capture movement hold down button to capture a series of photos.
- Editing the phone photos: One way to adjust or improve your phone photos is to play around with some editing apps. There are many available and they can help you adjust your exposure, color, contrast, etc. The one I use is VSCO. Below are two examples of phone edits.
Part Three: Getting in the photo
Something I don’t do often enough is getting in photographs. We will go over this in class but four techniques are (1) hand over the camera, (2) selfie stick, (3) self-timer (4) wireless remote.
I hope you have enjoyed these tips for photographing your baby’s first year. If you are interested in my beginner photography course don’t forget to sign up for the newsletter. I’m always adding tutorials for beginner and advanced photographers. Don’t forget to look for past and new photography advice.

[…] is nicer and do photos at 3 or 6 months. Parents can try to take their own photos and here is a parent guide to taking newborn photos that I put together a few years […]